
Enable Bluetooth
Go to: Accessories > General > Advanced Settings > Turn On Bluetooth
Last updated on September 9, 2025
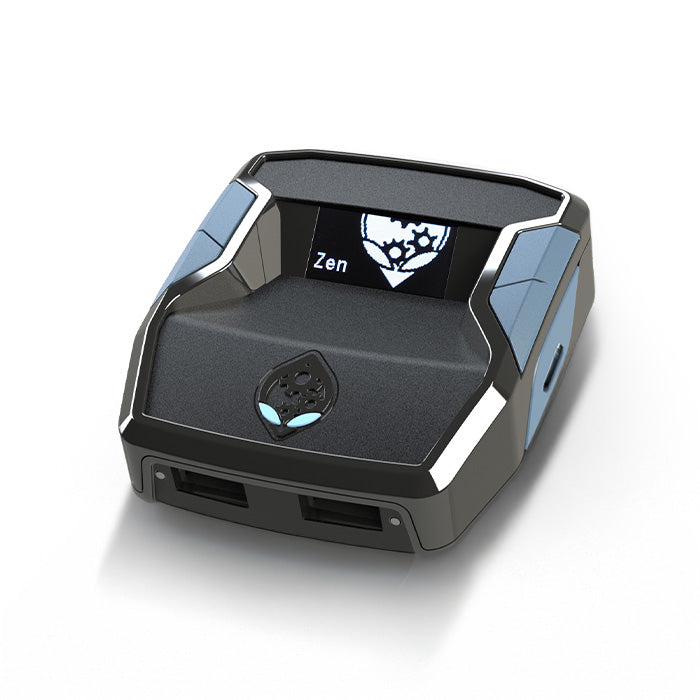
This page contains all the necessary information to set up the Cronus Zen with a PS5 and a DualSense controller. You must use the latest version of Zen Studio, and the Cronus Zen firmware must be updated to version 2.2.12.
All settings on this page must be applied before using a GamePack on the PS5. If even one setting is incorrect, the GamePack will NOT WORK!
Also make sure that the DualSense controller is fully charged when used with the Cronus Zen, as there may not be enough power available for charging.

Zen to PC using the PROG USB

To access the settings menu, click the ⚙️ icon at the top right of the PS5 screen, then...
Go to: Accessories > General > Advanced Settings > Turn On Bluetooth
Go to: Accessories > Controllers > Communication > Use USB Cable
Go to: Accessories > Controllers > Vibration Intensity > Strong (Standard)
Go to: Accessories > Controllers > Trigger Effect Intensity > Strong (Standard)
DualSense Edge: These settings can be found in the default Profile 1
Go to: System > Power Saving > Set Time Until Controllers Turn Off > Don't Turn Off
Go to: System > Power Saving > Features Available in Rest Mode > Supply Power to USB Ports > Always
Go to: System > Power Saving > Features Available in Rest Mode > Enable Turning on PS5 from Network
Go to: System > Remote Play > Enable Remote Play
Go to: Users and Accounts > Other > Console Sharing and Offline Play > Enable
Go to: System > System Software > System Software Update and Settings > Disable both Download Update Files Automatically and Install Update Files Automatically.
Go to: System > Power Saving > Features Available in Rest Mode > Disable Stay Connected to the Internet.
Cronus Zen supports all features of the DualSense & DualSense Edge controllers (USB).

Dualsense & Dualsense Edge
*DualSense Bluetooth does not support adaptive triggers and therefore does not support BEAM GamePack features.
To play on a PS5 with a Cronus Zen using a standard DualSense or DualSense Edge, the respective controller must be connected to the left side of the Zen at A1.
NOTE: The following steps must be repeated after every restart of the PS5, the Cronus Zen, or after disconnecting the controller.
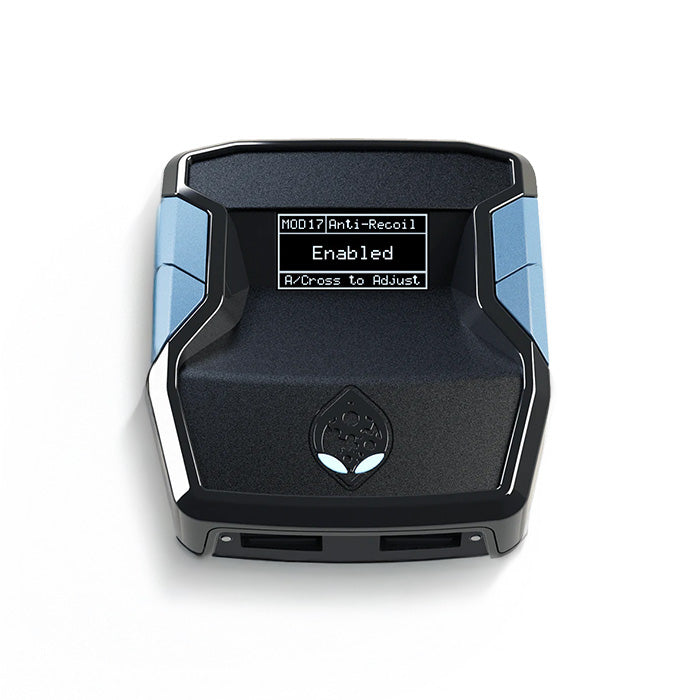
If you are using a DualSense Edge controller, you must change the built-in Right Stick Sensitivity/Deadzone settings to default or it will break Anti-Recoil (all the sensitivity/curve settings are handled by the GamePack)
NOTE: The following settings are only visible when the Edge controller is connected directly to the PS5.

Erweitere deine Möglichkeiten.
Hol dir deinen Cronus Zen.
Nutze offizielle GamePacks und tausende kostenlose MODs, um dein Gameplay zu optimieren. Egal ob Controller oder Maus & Tastatur, auf jeder Konsole – mit dem Zen holst du das Beste aus deinem Setup heraus.
🛠 BEAM Gamepack Creators
x22 DOT

Unterstütze die Entwickler über Patreon und erhalte exklusiven Zugang zu deutschen Videoanleitungen für BEAM GamePacks und Cronus Zen. Dazu gibt es spannende Einblicke aus erster Hand sowie Tipps und Tricks, die du sonst nirgendwo findest!
Verwende den Code RXGAMES50 für 50% Rabatt auf den Zugang.